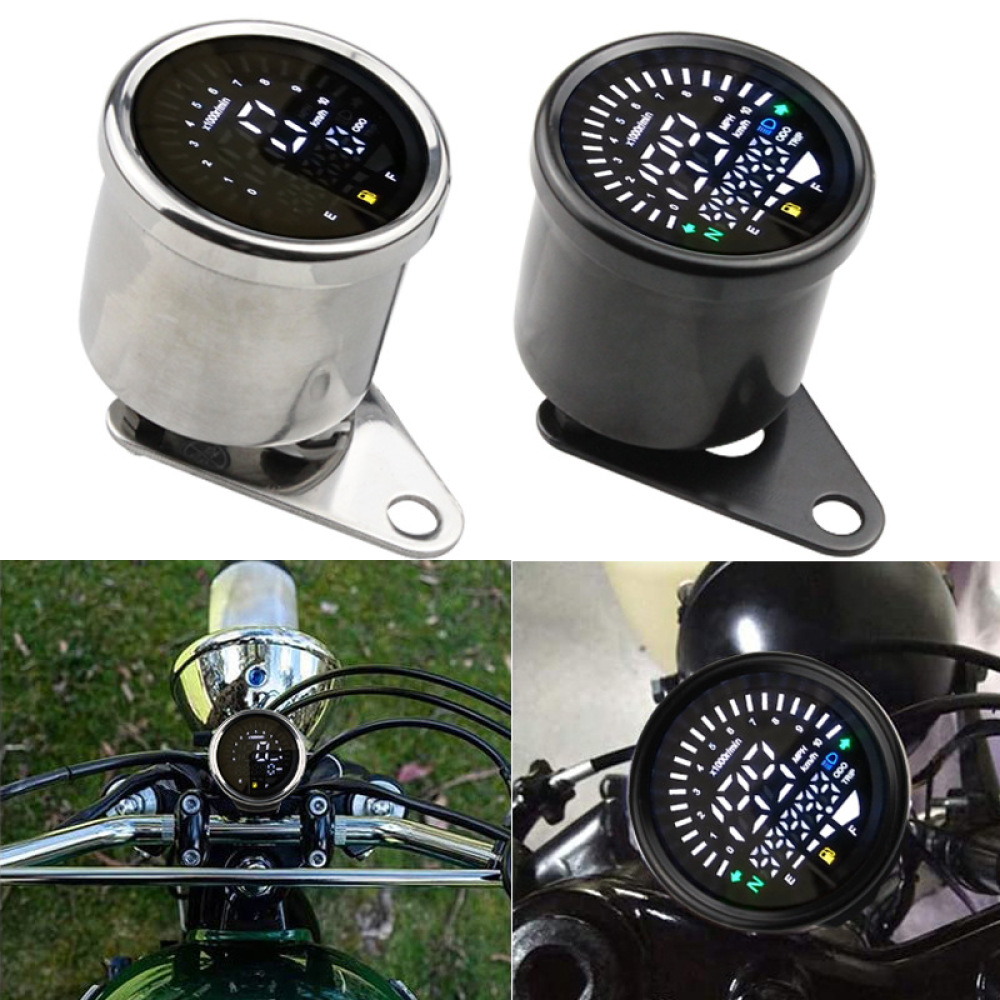
The Moment Every Builder Thinks They're Done...
After hours of mounting the gauge, routing wires, and matching connectors, you finally turn the key.
The screen lights up.
The backlight works.
The indicators flash.
You smile and think:
"Great! The hard part is over."
Then reality hits.
Your speed reads 20 mph too fast.
The RPM jumps randomly.
The fuel gauge is stuck on FULL.
Or worse...the speed stays at 0 mph even though the bike is moving.
Sound familiar?
The truth is, most installation problems aren't caused by wiring—they're caused by incorrect calibration.
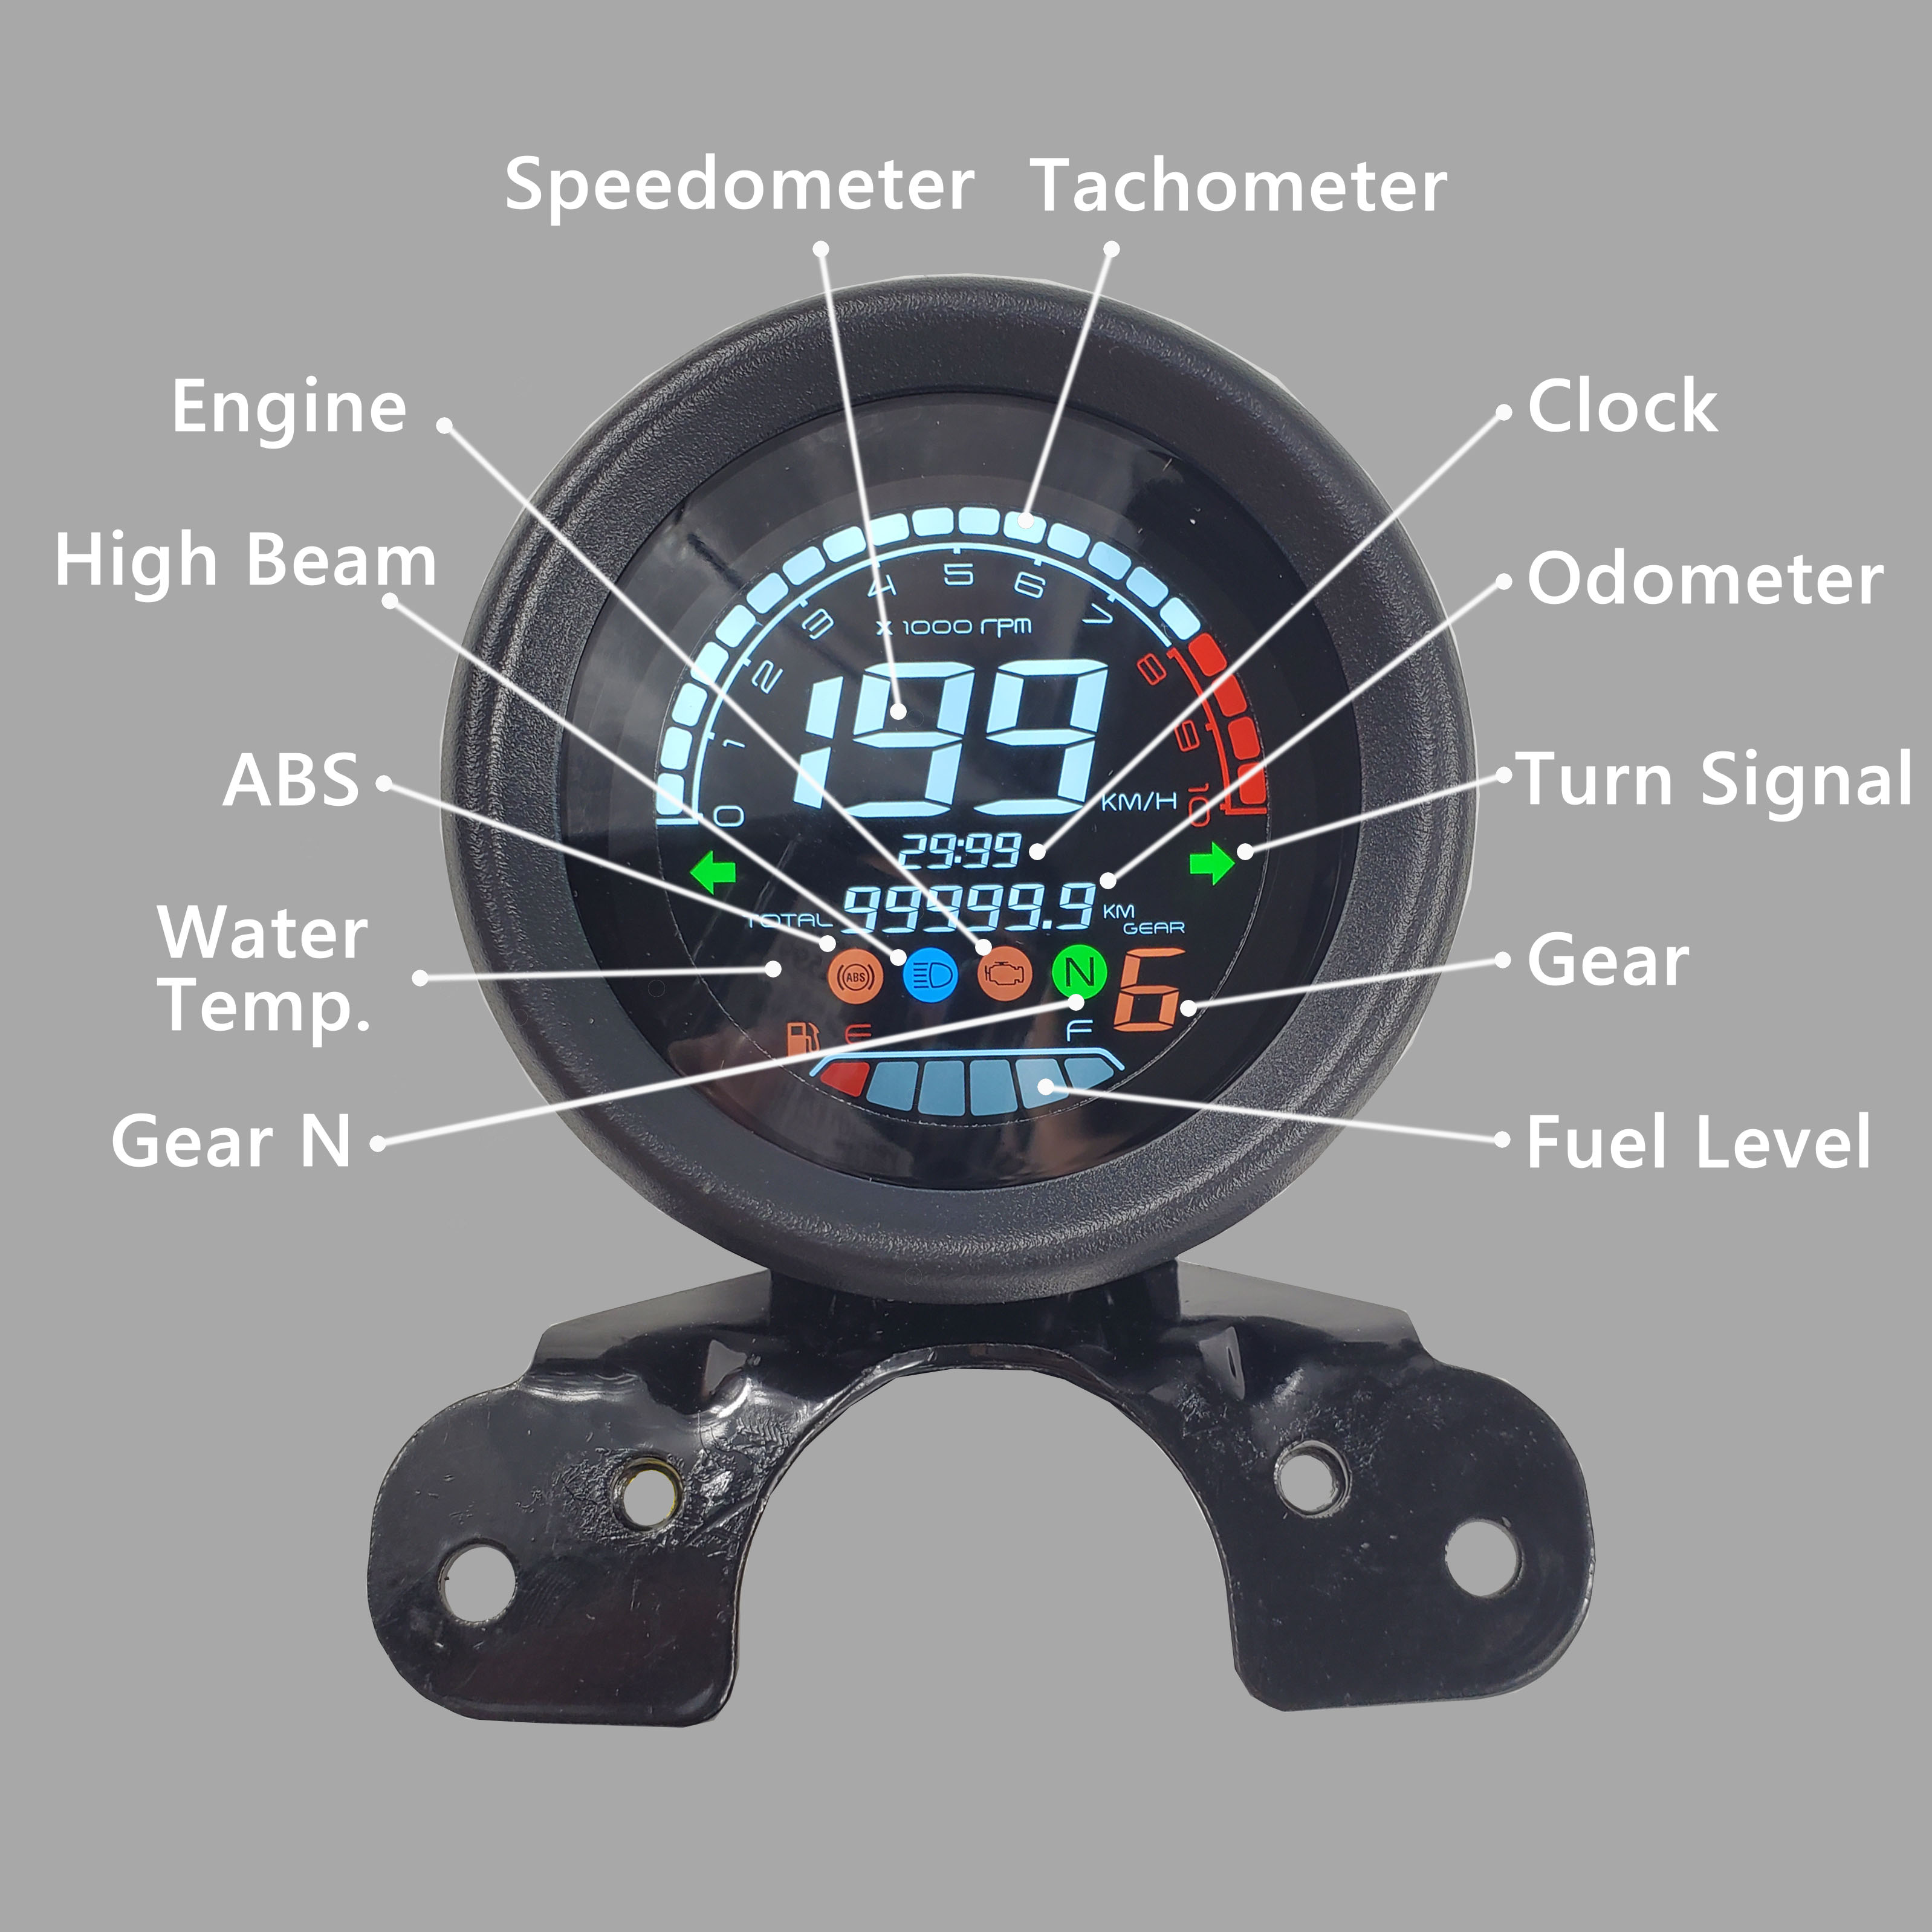
Wiring Only Makes the Gauge Turn On
Many first-time builders spend hours worrying about wiring diagrams.
Yes, proper wiring is important.
But wiring only allows the gauge to receive power and signals.
It doesn't tell the gauge how to interpret those signals.
Think of it like buying a new smartphone.
Charging it is easy.
Setting everything up correctly is what takes time.
A motorcycle digital gauge works exactly the same way.
Why Calibration Matters
A universal motorcycle gauge is designed to fit hundreds of different motorcycles.
That means it has no idea:
- How many magnets you're using
- How large your front wheel is
- Whether your engine is a single or four-cylinder
- What type of fuel sender your motorcycle uses
Until you tell it these settings, the gauge is simply guessing.
And that's why so many riders believe their new gauge is defective—when it actually just needs proper configuration.
The Four Settings That Matter Most
Most digital motorcycle gauges require only four key adjustments to work accurately.
Get these right, and almost every function will perform exactly as expected.
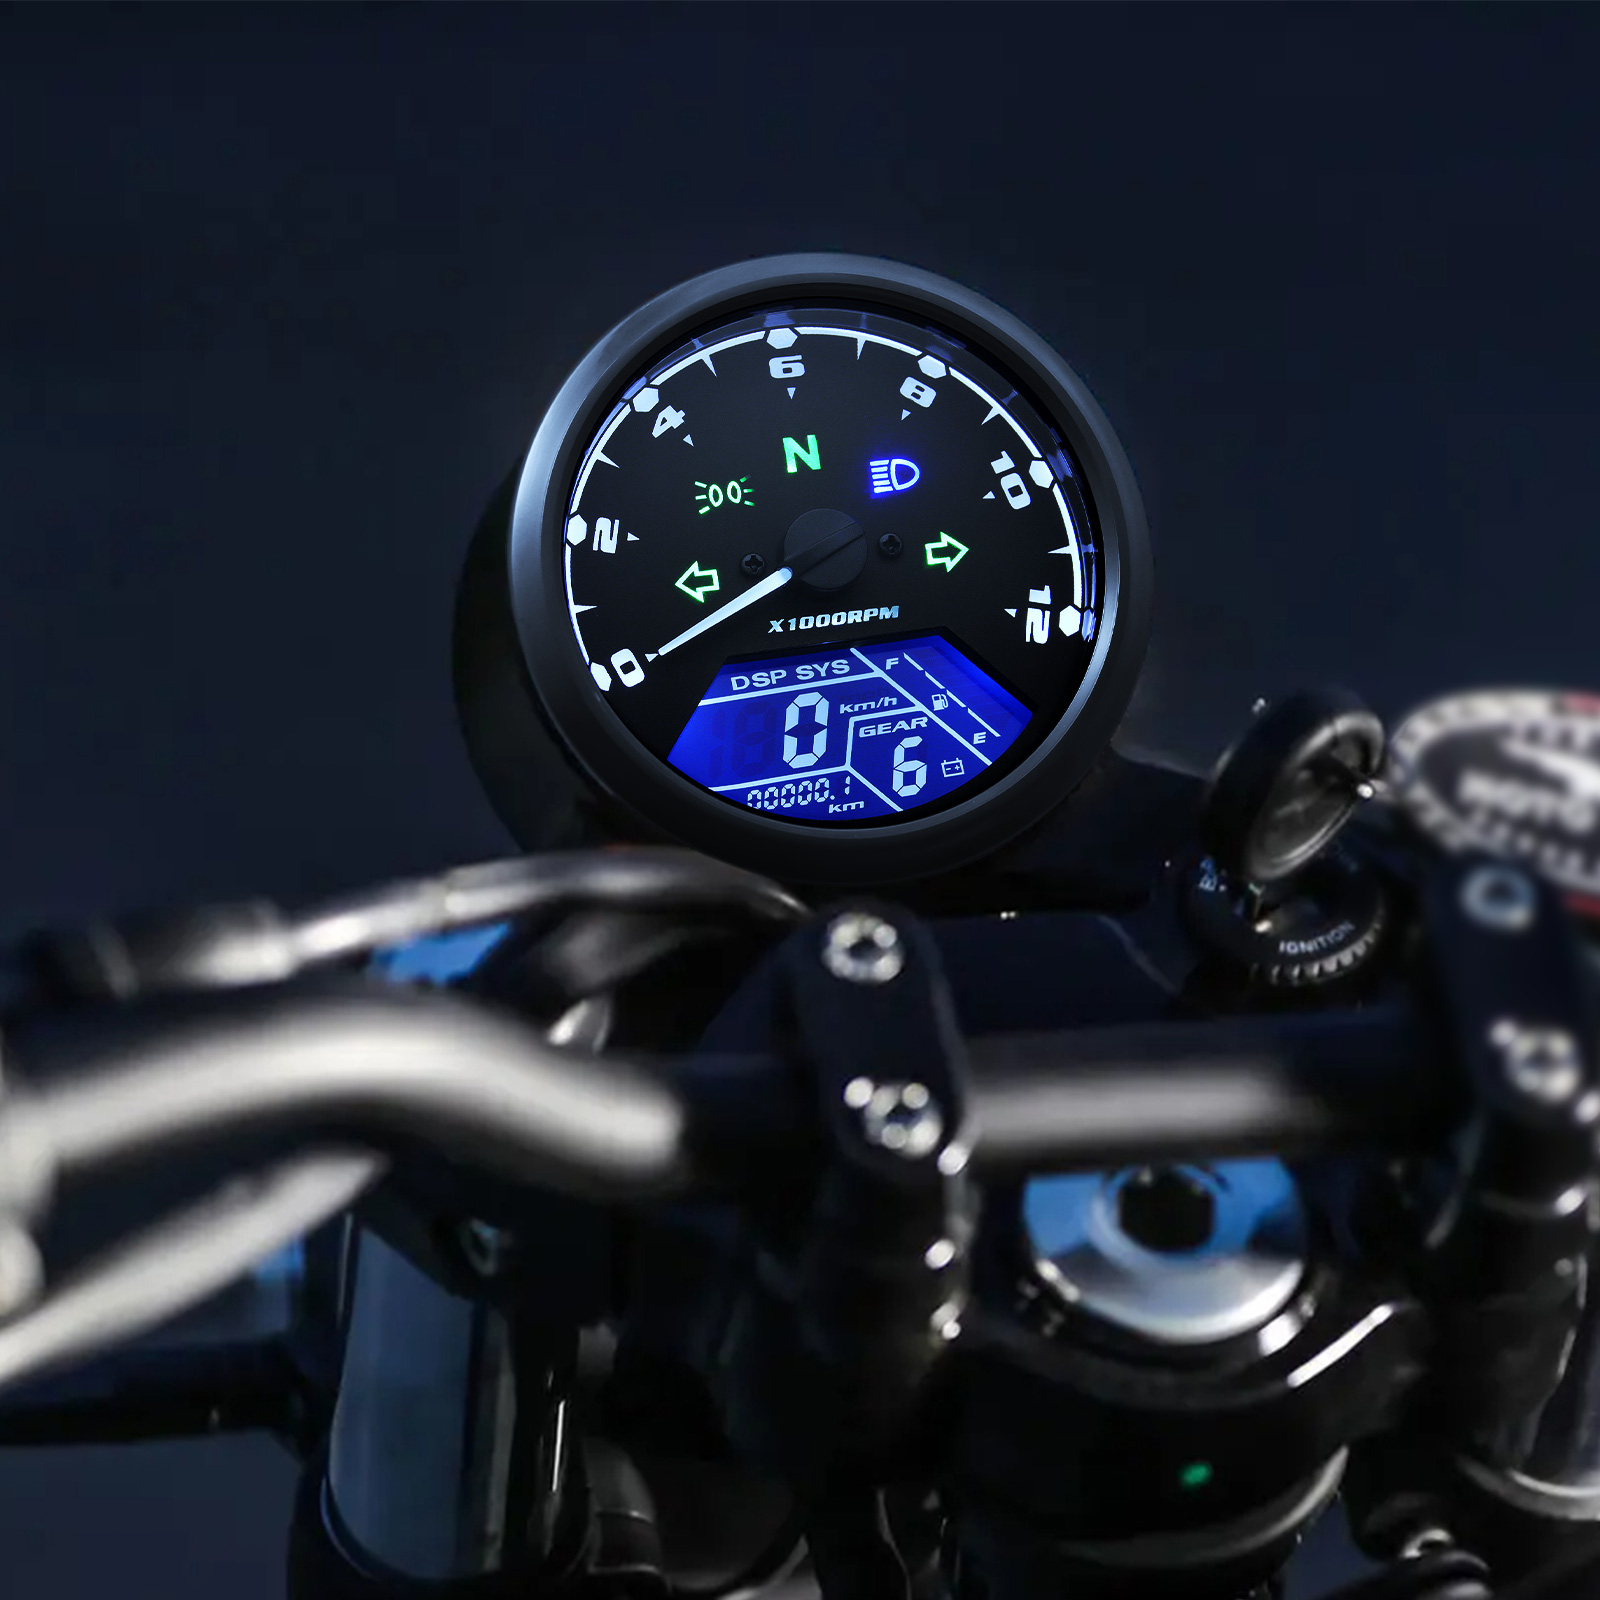
1. Speed Sensor Magnet Setting
This is probably the most common mistake.
The gauge calculates speed by counting how many times the sensor detects a magnet.
If you install:
- 1 magnet → Set the gauge to 1
- 2 magnets → Set the gauge to 2
- 4 magnets → Set the gauge to 4
If this value is incorrect, your speed can easily be off by 50% or more.
Common symptoms:
✔ Speed is too high
✔ Speed is too low
✔ Speed jumps around
2. Wheel Circumference
Even with the correct magnet setting, your speed can still be inaccurate.
Why?
Because the gauge also needs to know how far the motorcycle travels during one wheel rotation.
Many riders simply guess.
That's a mistake.
Instead:
- Inflate the tire normally.
- Mark one point on the tire.
- Roll the bike forward one full revolution.
- Measure the distance.
- Enter that value into the gauge.
This simple step dramatically improves both speed and odometer accuracy.
3. Engine Pulse (Cylinder & Stroke Setting)
If your tachometer shows double—or half—the actual RPM, don't panic.
Your wiring is probably fine.
The gauge simply needs to know what engine it's connected to.
Typical settings include:
- Single Cylinder
- Twin Cylinder
- Triple Cylinder
- Four Cylinder
Along with:
Once configured correctly, the RPM display should become stable and accurate.
4. Fuel Sender Calibration
This is another area where many riders get stuck.
Universal gauges support different fuel sender resistance ranges, but motorcycles don't all use the same sender.
If the wrong mode is selected, you might see:
- Fuel always Full
- Fuel always Empty
- Fuel level changing randomly
Before changing settings, identify the resistance range of your motorcycle's fuel sender and match it in the gauge menu.
Don't Forget the Basics
Before assuming your gauge has a fault, double-check these common installation details:
- Is the speed sensor aligned with the magnet?
- Is the sensor gap within the recommended range?
- Is the wheel circumference entered correctly?
- Does the magnet quantity match your installation?
- Is the engine pulse setting correct?
- Does the fuel sender mode match your motorcycle?
Most "faulty" gauges are simply missing one of these settings.
The Best Way to Test Everything
Once you've finished wiring and calibration:
✅ Lift the front wheel and test the speed sensor.
✅ Start the engine and verify RPM.
✅ Switch on high beam, indicators, and neutral.
✅ Check fuel level.
✅ Compare your speed with a GPS app during a short ride.
Making small adjustments now is much easier than troubleshooting later.
Final Thoughts
Installing a universal motorcycle gauge isn't difficult.
Understanding how to calibrate it is what separates a frustrating installation from a successful one.
Once the magnet count, wheel circumference, engine pulse, and fuel sender are configured correctly, your gauge can provide accurate speed, RPM, fuel level, temperature, and trip information for years to come.
So next time someone tells you that wiring is the hardest part...
You can tell them:
"No—the real challenge begins after the gauge powers on."
Upgrade Your Cafe Racer with a Fully Programmable Digital Gauge
Whether you're building a cafe racer, scrambler, bobber, tracker, or custom motorcycle, choosing a fully programmable digital gauge makes installation and calibration much easier.
At CafeRacerGo, our universal motorcycle gauges feature:
- Adjustable speed sensor settings
- Wheel circumference calibration
- Engine pulse configuration
- Multiple fuel sender modes
- Water temperature monitoring
- Voltage display
- Trip meter & odometer
- EFI diagnostic support (selected models)
Explore our complete collection and find the right gauge for your next custom build.