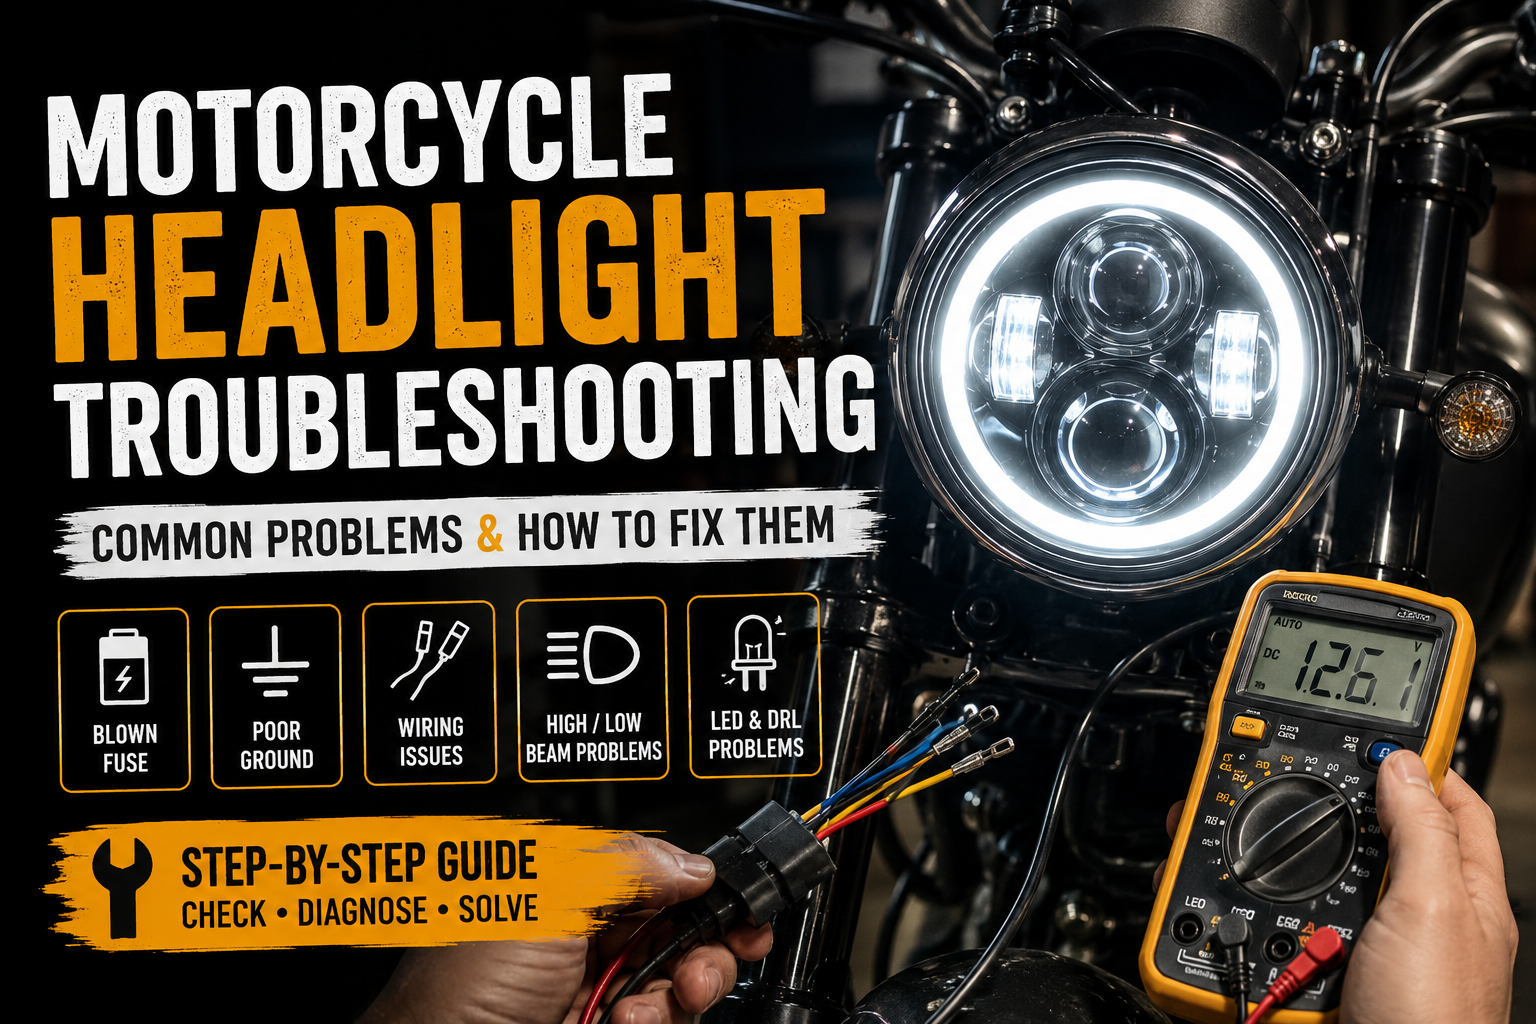
A motorcycle headlight is one of the most important electrical components on a motorcycle. It provides visibility at night and helps other road users see you during the day. When a headlight stops working, flickers, becomes dim, or does not switch between high and low beam correctly, the problem can come from several different parts of the motorcycle's electrical system.
Fortunately, many motorcycle headlight problems can be diagnosed with a few basic checks.
This guide explains the most common motorcycle headlight problems, their possible causes, and practical troubleshooting steps. It is useful for standard motorcycles as well as cafe racer, bobber, scrambler, chopper, and custom motorcycle builds.
If you are installing a new LED motorcycle headlight or replacing an original headlight, this guide can also help you identify wiring and installation problems.
1. Motorcycle Headlight Troubleshooting at a Glance
Before starting a detailed diagnosis, use the table below to identify the symptom closest to your problem.
| Problem |
Possible Causes |
First Things to Check |
| Headlight does not turn on |
Blown fuse, bad connection, incorrect wiring, faulty switch |
Fuse, power supply, ground |
| Low beam does not work |
Wiring problem, switch problem, LED driver failure |
Low-beam wire and switch |
| High beam does not work |
Wiring problem, switch problem, faulty LED circuit |
High-beam wire and switch |
| Headlight flickers |
Loose connection, poor ground, damaged wire |
Connectors and ground |
| Headlight is dim |
Low voltage, poor ground, weak battery |
Battery voltage and wiring |
| Headlight works but DRL does not |
Incorrect DRL wiring or power supply |
DRL wire and power source |
| High/low beam reversed |
Incorrect wire connection |
Headlight wiring |
| Headlight works only sometimes |
Loose connector, damaged wire, switch problem |
Wiggle-test connectors carefully |
| LED headlight stays on after switching off |
Incorrect wiring or motorcycle electrical design |
Switch and power source |
| Headlight becomes hot |
High current, poor ventilation, driver problem |
Electrical load and heat dissipation |
| New headlight does not work |
Wiring mismatch or installation error |
Wire function and polarity |
| Fuse keeps blowing |
Short circuit or excessive current |
Wiring and electrical load |
2. Before Troubleshooting: Safety First
Before working on your motorcycle's electrical system, turn off the ignition and remove the key.
If you need to measure voltage or test the headlight while the motorcycle is powered, keep your hands away from moving parts, hot exhaust components, and other dangerous areas.
For electrical troubleshooting, a basic digital multimeter is highly recommended.
You may also need:
- Digital multimeter
- Test light
- Fuse puller or small pliers
- Screwdrivers
- Wire stripper/crimper
- Electrical tape or heat-shrink tubing
- Wiring diagram for your motorcycle
- Motorcycle service manual, if available
Do not replace a blown fuse with a fuse of a higher rating. The fuse protects the wiring and electrical system from excessive current.
3. Motorcycle Headlight Does Not Turn On
This is one of the most common headlight problems.
If the headlight is completely off, do not immediately assume that the LED headlight itself is defective.
The problem may be somewhere between the battery, fuse, switch, wiring harness, connector, and headlight.
Possible Causes
- Blown headlight fuse
- Loose connector
- Broken or damaged wire
- Poor ground connection
- Faulty handlebar switch
- Incorrect wiring
- Low battery voltage
- Faulty headlight driver
- Internal headlight failure
Troubleshooting Steps
Step 1: Check the Fuse
Locate the headlight fuse and inspect it.
If the fuse is blown, replace it with the same rated fuse.
If the replacement fuse blows again immediately, do not keep replacing fuses. There may be a short circuit or excessive current draw that needs to be investigated.
Step 2: Check the Headlight Connector
Inspect the connector between the motorcycle wiring harness and the headlight.
Look for:
- Loose terminals
- Bent pins
- Corrosion
- Water ingress
- Burn marks
- Damaged wires
A connector that looks connected may still have a poor electrical contact.
Step 3: Check the Ground
A poor ground is one of the most frequently overlooked causes of motorcycle lighting problems.
A typical headlight circuit requires:
Power → Headlight → Ground
If the ground connection is loose, corroded, or connected to an unsuitable location, the headlight may not work correctly.
Step 4: Measure Voltage
Using a multimeter, check the voltage at the headlight connector.
For a typical 12V motorcycle electrical system, the voltage should generally be around battery/charging-system voltage when the motorcycle is operating.
If power is present but the headlight does not illuminate, the headlight or its wiring may be the problem.
If there is no power, continue tracing the circuit back toward the fuse and switch.
4. Low Beam Does Not Work
If the high beam works but the low beam does not, the problem is usually related to the low-beam circuit rather than the entire headlight.
Possible Causes
- Incorrect low-beam wiring
- Loose terminal
- Faulty handlebar switch
- Damaged wire
- Internal LED circuit failure
- Incorrect headlight wiring configuration
What to Check
First, identify the low-beam wire according to the headlight's wiring diagram.
Do not assume that wire colors are universal across all motorcycle headlights.
Different manufacturers may use different wire-color conventions.
Check:
- Low-beam wire
- Ground wire
- Headlight switch
- Connector
- Voltage at the low-beam input
If voltage reaches the low-beam input but the low beam remains off, the headlight itself may require further inspection.
5. High Beam Does Not Work
The troubleshooting process for a high-beam failure is similar to a low-beam failure.
If the low beam works normally but the high beam does not, check the high-beam circuit.
Check:
- High-beam switch
- High-beam wire
- Connector
- Ground
- Voltage input
- Headlight internal circuit
Also check whether the high-beam indicator on the motorcycle's instrument panel operates.
If the indicator works but the headlight high beam does not, this can help narrow the problem down to the headlight circuit or wiring.
6. High and Low Beam Are Reversed
Sometimes a newly installed motorcycle headlight works perfectly, but the high beam and low beam functions are reversed.
For example:
- High-beam switch → Low beam
- Low-beam switch → High beam
This is usually caused by incorrect wiring rather than a defective headlight.
Solution
Check the manufacturer's wiring diagram and identify the correct:
- Ground
- Low beam
- High beam
- DRL, if equipped
- Turn signal inputs, if equipped
Do not connect wires based only on their colors unless the manufacturer specifically provides the color mapping.
7. Motorcycle Headlight Flickers
A flickering headlight can be particularly annoying and can also indicate an electrical connection problem.
Common Causes
- Loose connector
- Poor ground
- Loose battery terminal
- Damaged wire
- Corroded connector
- Faulty switch
- Charging-system problem
- LED driver problem
- Excessive vibration
Troubleshooting
Start with the simplest possibility: the connection.
Inspect the headlight connector and wiring.
Check the battery terminals and ground cable.
On a custom motorcycle, pay special attention to wiring routed around:
- Steering head
- Forks
- Headlight bracket
- Handlebar
- Frame
- Moving suspension components
Wires can become stretched, pinched, or damaged when the handlebar is turned from side to side.
Steering Test
With the motorcycle stationary, turn the handlebars slowly from full left to full right while observing the headlight.
If the headlight flickers when the handlebars move, inspect the wiring around the steering area.
8. Headlight Is Too Dim
If the headlight turns on but appears much dimmer than expected, check the electrical supply before replacing the headlight.
Possible Causes
- Low battery voltage
- Poor ground
- Loose connection
- Corroded connector
- Undersized wiring
- Charging-system problem
- Faulty LED driver
- Excessive electrical load
A modern LED headlight generally depends on a stable electrical supply.
Check Battery Voltage
Measure the battery voltage with the motorcycle switched off and then with the engine running.
If the voltage is significantly lower than expected, investigate the battery and charging system.
A headlight problem can sometimes be a symptom of a larger electrical problem.
9. LED Headlight Works but DRL Does Not
Many modern motorcycle LED headlights include a Daytime Running Light (DRL).
A common installation problem is that the main headlight works normally while the DRL does not.
Possible Causes
- DRL wire not connected
- Incorrect power source
- Incorrect wire identification
- DRL connected to an unsuitable circuit
- Faulty DRL circuit
- Insufficient voltage
Check the product's wiring diagram and identify the dedicated DRL input.
Do not assume the DRL wire should be connected to the same circuit as the low beam unless the product instructions specifically state this.
10. LED Headlight Turns Off or Flickers at Idle
If the headlight flickers or becomes noticeably dim at idle but becomes brighter when the engine speed increases, the issue may not be the headlight.
Possible causes include:
- Weak battery
- Charging-system problem
- Voltage regulator/rectifier issue
- Poor ground
- Low idle speed
- Loose electrical connection
This is especially important on older motorcycles and custom builds where the original charging system may have been modified.
Check the motorcycle's charging voltage before replacing the headlight.
11. Headlight Fuse Keeps Blowing
If the headlight fuse repeatedly blows, there is probably an electrical problem that needs to be found.
Possible Causes
- Short circuit
- Damaged wire
- Pinched wire
- Incorrect wiring
- Excessive current
- Faulty component
- Water or moisture inside a connector
Important
Never install a larger fuse simply to stop the fuse from blowing.
For example, if the motorcycle requires a 10A fuse, replacing it with a 15A or 20A fuse can allow excessive current to flow through wiring that was not designed for it.
This can cause wiring damage or create a serious electrical hazard.
Find the cause of the excessive current instead.
12. New LED Motorcycle Headlight Does Not Work
Installing an aftermarket headlight can introduce additional troubleshooting issues.
Unlike an original equipment replacement, an aftermarket headlight may use a different connector or wire configuration.
Before installation, identify each wire by its function.
A typical headlight may include:
| Function |
Typical Description |
| Ground |
Negative / Ground |
| Low Beam |
Low-beam input |
| High Beam |
High-beam input |
| DRL |
Daytime Running Light |
| Turn Signal |
Left or right signal, if equipped |
Important: Wire colors are not universal. Always follow the wiring diagram supplied with the specific product.
For aftermarket motorcycle parts, the safest approach is to match wires by function, not simply by color.
13. Headlight Works but the High/Low Switch Does Nothing
If the headlight turns on but the handlebar high/low switch does not change the beam, inspect the switch and its wiring.
Check:
- Switch connector
- Common power input
- High-beam output
- Low-beam output
- Ground, if required
- Damaged terminals
- Loose wires
A replacement handlebar switch may have a different terminal layout from the original switch.
This is especially common when installing universal motorcycle handlebar switch assemblies.
Always check the terminal configuration before connecting the switch to the motorcycle.
14. Headlight Goes Off When Turning the Handlebar
This is a common problem on custom motorcycles.
The headlight may work normally when the handlebar is straight but turn off when the handlebar is rotated.
Likely Causes
- Wire too short
- Wire pulled tight
- Wire pinched by the headlight bracket
- Connector partially disconnected
- Damaged wire inside insulation
- Poor routing around the steering head
Solution
Turn the handlebars slowly from full left to full right and inspect the wiring.
The wiring should have enough slack to allow full steering movement without pulling on the connector.
This is particularly important when installing a custom headlight bracket or relocating the headlight.
15. Water or Moisture Inside the Headlight
Motorcycles are exposed to:
- Rain
- Washing
- Road spray
- Humidity
- Temperature changes
Moisture inside a headlight can cause:
- Flickering
- Corrosion
- Dim lighting
- Electrical shorts
- LED driver failure
A small amount of temporary condensation may occur during temperature changes, depending on the headlight design.
However, visible water droplets, pooling water, or persistent moisture should be investigated.
Check:
- Lens sealing
- Rear cover
- Cable entry points
- Connector
- Ventilation system
- Installation position
Do not ignore repeated water ingress.
16. Headlight Becomes Very Hot
LED headlights generally produce less heat than many traditional halogen systems, but they still generate heat.
If an LED headlight becomes unusually hot, possible causes include:
- Poor heat dissipation
- Blocked cooling area
- Faulty LED driver
- Incorrect electrical supply
- Excessive current
- Incorrect installation
Do not cover cooling fins, ventilation areas, or heat sinks.
When installing a motorcycle LED headlight, make sure there is sufficient airflow around the rear housing and cooling components.
17. Headlight Works but the Beam Pattern Is Wrong
Not every headlight problem is an electrical problem.
A headlight can operate normally but still provide poor road illumination if it is incorrectly positioned.
Common causes include:
- Incorrect installation angle
- Headlight mounted too high
- Headlight mounted too low
- Incorrect beam orientation
- Loose headlight bracket
- Incorrect reflector/projector alignment
After installation, always check the beam pattern and adjust the headlight according to local road regulations.
A correctly functioning headlight should also be correctly aimed.
18. Troubleshooting Motorcycle Headlight Wiring
When diagnosing a headlight, it helps to think of the electrical circuit as a simple path:
Power Source → Fuse → Switch/Control → Headlight → Ground
If the headlight does not work, determine where the electrical path stops.
For example:
No power at headlight
Check:
Battery → Fuse → Switch → Wiring → Connector
Power reaches headlight but no light
Check:
Headlight Ground → Internal Headlight Circuit
High beam works but low beam does not
Check:
Low-Beam Switch → Low-Beam Wire → Headlight Input
This method is much more effective than randomly replacing parts.
19. How to Use a Multimeter for Motorcycle Headlight Troubleshooting
A digital multimeter is one of the most useful tools for motorcycle electrical diagnosis.
Voltage Test
Set the multimeter to DC voltage.
Connect the probes to the appropriate positive and ground points.
Then check whether voltage reaches the headlight connector.
Continuity Test
A continuity test can help identify broken wires or poor connections.
Always disconnect power before performing continuity testing.
Ground Test
A poor ground can create confusing symptoms.
If the power supply appears normal but the headlight is dim or unstable, test the ground connection carefully.
20. Troubleshooting After Installing an Aftermarket Headlight
If your original headlight worked correctly but the new headlight does not, focus first on the installation.
Recommended Checklist
- Confirm the motorcycle voltage system.
- Confirm the headlight voltage requirement.
- Identify every wire by function.
- Confirm the ground connection.
- Check the fuse.
- Check the connector.
- Confirm high/low beam wiring.
- Check DRL wiring if applicable.
- Check turn-signal wiring if applicable.
- Test the headlight before final assembly.
- Check the beam angle.
- Secure all wiring after testing.
This process can prevent many unnecessary returns or part replacements.
21. Common Motorcycle Headlight Mistakes
Some headlight problems are caused by installation mistakes rather than defective components.
Mistake 1: Connecting Wires Only by Color
Wire colors can vary between motorcycles and aftermarket products.
Always use the supplied wiring diagram.
Mistake 2: Ignoring the Ground
A poor ground can cause:
- Flickering
- Dim light
- Intermittent operation
- Complete failure
Mistake 3: Using the Wrong Fuse
Never use a higher-rated fuse to solve a recurring fuse problem.
Mistake 4: Pulling Wires Tight
Motorcycle handlebars move continuously.
Leave enough wiring slack around the steering area.
Mistake 5: Testing Only Before Installation
A headlight may work when connected loosely on a workbench but develop a problem after the wiring is routed and the headlight is mounted.
Always perform a final test after installation.
22. Motorcycle Headlight Troubleshooting Flowchart
When your motorcycle headlight is not working, use this simple diagnostic sequence:
Headlight does not work
↓
Check fuse
→ Fuse blown → Find short circuit / excessive current
→ Fuse OK
↓
Check power at headlight
→ No power → Check switch, wiring, connector
→ Power present
↓
Check ground
→ Poor ground → Repair ground connection
→ Ground OK
↓
Check high/low beam input
→ One function missing → Check corresponding wire/switch
→ Both inputs correct
↓
Inspect headlight
→ Headlight may have an internal fault
This systematic approach can save time and prevent unnecessary replacement of working components.
23. When Should You Replace the Headlight?
A headlight may need replacement when:
- The correct voltage reaches the headlight
- Ground is confirmed good
- Wiring and connectors are intact
- Fuse and switch are functioning correctly
- High/low beam inputs are correct
- The headlight still does not operate
In this situation, the problem may be inside the headlight itself, such as an LED module, driver, or internal circuit.
Before replacing it, confirm the electrical measurements whenever possible.
24. Choosing the Right Motorcycle Headlight
When replacing a motorcycle headlight, electrical compatibility is only one part of the selection process.
You should also consider:
Size
Common motorcycle headlight sizes include:
- 5.75 inch
- 6.5 inch
- 7 inch
- 7.5 inch
Always measure the available mounting space before ordering.
Voltage
Confirm that the headlight is compatible with your motorcycle's electrical system.
Beam Function
Depending on the product, you may need:
- Low beam
- High beam
- DRL
- Turn signals
- Position light
Mounting
Check:
- Mounting diameter
- Bracket type
- Mounting hole position
- Available clearance
A headlight that fits the electrical system but does not physically fit the motorcycle is still the wrong headlight.
25. Motorcycle Headlights for Custom Builds
For cafe racer and custom motorcycle projects, the headlight is more than an electrical component. It is also an important part of the motorcycle's overall appearance.
When choosing a headlight for a custom build, consider the combination of:
Headlight + Headlight Bracket + Handlebar + Instruments + Front Fork
A clean combination can make the front end look significantly more professional.
At CafeRacerGo, we focus on motorcycle parts suitable for custom builds, including motorcycle headlights and related components for cafe racer, bobber, scrambler, and other custom motorcycle projects.
You can explore the available motorcycle lighting and related parts through our website:
CafeRacerGo Motorcycle Parts
26. Final Motorcycle Headlight Troubleshooting Checklist
Before replacing a motorcycle headlight, go through this checklist:
☐ Check the fuse
☐ Check battery voltage
☐ Check the headlight connector
☐ Check the ground connection
☐ Check power at the headlight
☐ Check low-beam input
☐ Check high-beam input
☐ Check the handlebar switch
☐ Inspect wires for damage
☐ Check wiring around the steering head
☐ Check DRL wiring
☐ Check for moisture
☐ Check charging-system voltage
☐ Check headlight mounting
☐ Check beam alignment
If all external wiring and electrical components are working correctly but the headlight still does not operate, the headlight itself may require replacement or professional inspection.
Conclusion
Motorcycle headlight problems can look complicated, but most can be narrowed down by following the electrical circuit step by step.
Start with the simple checks:
Fuse → Power → Ground → Switch → Wiring → Headlight
Do not immediately assume that a new LED headlight is defective. A loose connector, incorrect wire connection, poor ground, damaged wire, or charging-system problem can produce very similar symptoms.
For aftermarket motorcycle lighting, always identify wires by their function and follow the manufacturer's wiring diagram rather than relying only on wire colors.
Whether you are maintaining a daily motorcycle or building a custom cafe racer, bobber, scrambler, or chopper, systematic troubleshooting can save time, prevent unnecessary parts replacement, and help ensure your lighting system works safely and reliably.
For motorcycle headlights, headlight brackets, switches, gauges, and other custom motorcycle parts, visit CafeRacerGo and explore our motorcycle parts collection.


