Building a café racer is all about customization, and one of the most important modifications is the subframe. Whether you're shortening the rear end, swapping in a bolt-on unit, or fabricating a custom frame, welding a subframe onto your café racer is a crucial step. In this guide, we’ll walk you through the process to ensure a strong and aesthetically pleasing result.
Why Modify the Subframe?
The subframe of a motorcycle supports the seat, rear suspension components, and sometimes the rear fender or battery box. Modifying it can help achieve that classic café racer look—slim, streamlined, and minimalist. Welding a new subframe allows for custom seat designs, improved ergonomics, and enhanced structural integrity.
If you're looking for high-quality subframes for your build, check out our collection: Café Racer Subframes.
https://caferacergo.com/collections/subframe
Tools and Materials You’ll NeedBefore starting, gather the necessary tools and materials:
-
Welding Machine – MIG or TIG welding is recommended.
-
Angle Grinder – For cutting and smoothing welds.
-
Metal Tubing – Usually steel tubing to match the main frame.
-
Measuring Tools – Ruler, calipers, and angle finder.
-
Clamps and Jigs – To hold pieces in place while welding.
-
Marker and Tape – For measuring and marking cuts.
-
Safety Gear – Welding helmet, gloves, and fire-resistant clothing.
Step-by-Step Welding Process
1. Plan Your Design
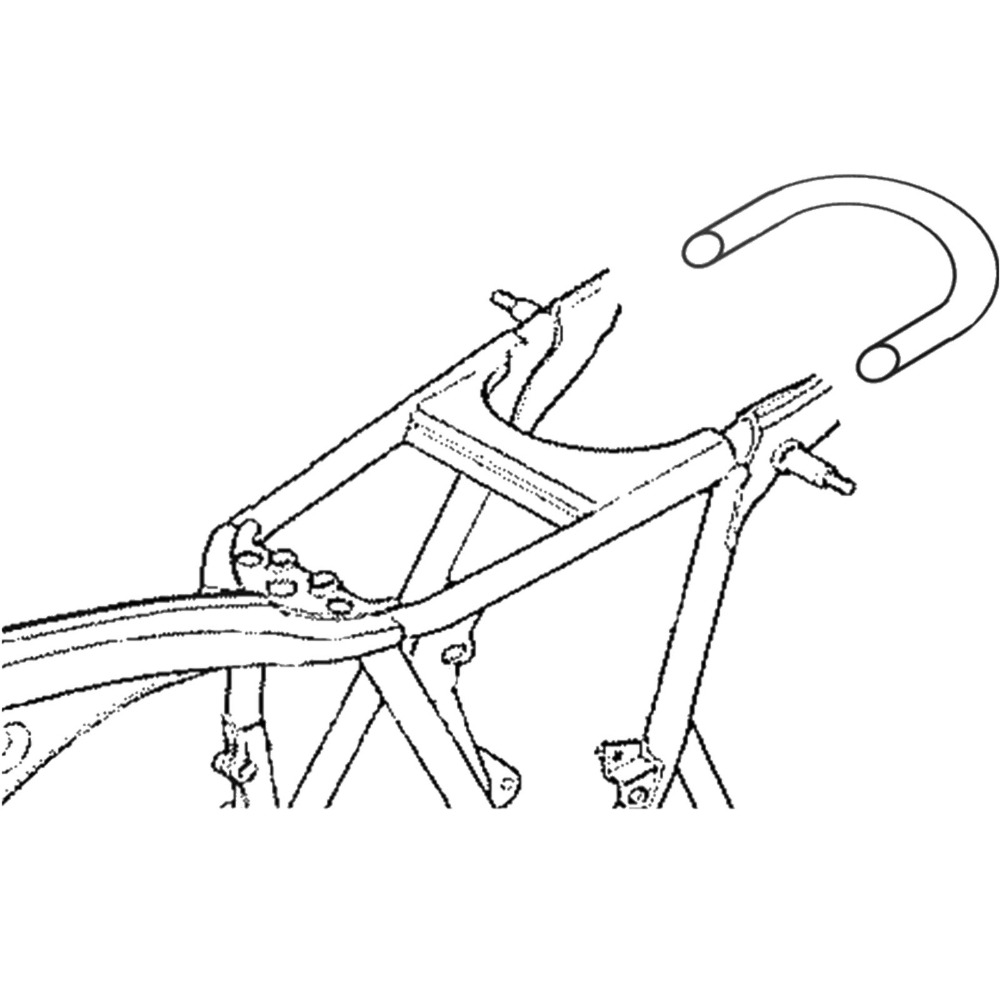
Before cutting or welding, sketch out your subframe design. Consider the seat height, rear suspension position, and whether you want a straight or hoop-style rear end.
2. Cut the Old Subframe (If Needed)
If your motorcycle already has a welded subframe that needs modification, use an angle grinder to carefully cut away the unwanted sections. Smooth out rough edges to prepare for welding.
3. Prepare the New Subframe Tubing
Measure and cut your new tubing according to your design. Ensure that your cuts are clean and precise to avoid misalignment.
4. Tack Weld the Subframe in Place
Before fully welding, tack weld the new subframe onto the main frame. This allows you to check for alignment and adjust if necessary.
5. Check Alignment
Use a straight edge and measuring tools to ensure the subframe is level and symmetrical. A misaligned subframe will affect handling and aesthetics.
6. Fully Weld the Subframe
Once alignment is confirmed, complete the welds. Use a steady hand to avoid overheating the tubing, which can weaken the metal. If using TIG welding, work in short bursts to prevent distortion.
7. Clean and Finish the Welds
After welding, use an angle grinder to smooth out weld beads. For a seamless look, you can use body filler and sanding before painting or powder coating.
Precautions to Take
Welding requires caution to ensure both safety and a high-quality result. Keep the following precautions in mind:
-
Avoid Excessive Heat: Overheating the tubing can cause warping or weakening of the metal. If the subframe has internal components like a light strip or wiring, excessive heat may damage them. Consider using heat sinks or welding in short bursts to control temperature.
-
Secure All Components: Ensure that all nearby wires, hoses, and painted surfaces are protected from sparks and heat. Use heat-resistant wraps or shields where necessary.
-
Work in a Well-Ventilated Area: Welding fumes can be hazardous. Always work in an area with proper ventilation or use a fume extractor.
-
Check Structural Integrity: Inspect the welds for any gaps, cracks, or weaknesses before putting weight on the subframe.
-
Use Proper Protective Gear: Always wear a welding helmet, gloves, fire-resistant clothing, and protective eyewear to avoid burns and injuries.
Final Touches
Once welded, you can add mounting points for the seat, battery tray, or fender. Test-fit your components before finalizing the build. Finally, apply primer and paint to protect the frame from rust.
Conclusion
Welding a subframe onto your café racer is a rewarding process that transforms the look and feel of your bike. With careful planning, proper tools, and precise welding techniques, you’ll create a strong and stylish rear section that complements your custom build. Happy wrenching!


